

According to recent statistics, the online learning market grew from $200 billion in 2019 to over $315 billion in 2021.
Right now, more and more people are jumping onto this bandwagon, and experts estimate that the global market value of the eLearning industry will reach $457 billion by the year 2026.
The graph below shows how quickly the online eLearning industry is growing compared to others.

If you’re considering creating an online course, it’s clear to see that now is the best time to do so.
I’ve created many courses for students and generated a reliable income from selling my knowledge online. But, I still remember how intimidating it was creating my very first online course, which is why I’ve written this step-by-step breakdown of what it takes to sell online courses.
Read on to learn how to create online courses – even if you’re a beginner with this 10-step guide.
1. Pick the Right Subject Matter
The first and most important step in creating a successful online course is to get your subject matter right.
You can choose any topic you like, from website coding to cooking recipes, and everything in between.
However, while the possibilities for online course topics are endless, it’s important to note that not all of them are equally viable.
Listed below are a few of the criteria to consider when evaluating a potential topic to determine whether or not it will appeal to you and your audience.
- Choose a Topic You Are Passionate About: You must want to teach the subject, otherwise you’ll be likely to give up on it before fruition.
- Choose a Topic Others Want to Learn About: This means you need to identify your audience first so you can determine the demand for the topic. In other words, what does your audience need? If you don’t have an audience yet, that’s okay too, but choose a topic that coincides with your online presence.
- Choose Something That People Are Willing to Pay For: There are many interesting topics you could write about, but will people actually pay for them?
This last tip, in particular, is worth focusing on because it can have a huge impact on your online course sales, which can equate to a lot of money if you do things right.
For instance, if you create an online course targeted at cash-strapped University students, you aren’t likely to find paying customers easily, even though your topic may be extremely interesting to that audience.
You can ask a group of friends or your existing audience (whether on your blog or social media), what they think of the subject you have in mind.
Share polls or online forms for them to fill out or make a short tutorial first and then monitor its performance to determine if that’s the type of content your audience is interested in seeing more of.
2. Make Sure Your Idea Has High Market Demand

Your next step is to test your idea to ensure that it has demand in the market.
Building an online course takes a lot of work and effort. So, it’s important to run a test before you start so you can validate your online business idea and ensure that it will pay itself off in the future.
The last thing you want to do is create an online course that no one has any interest in.
This step is a continuation of the research you conducted in step one, but you are taking this further by taking additional steps to validate your idea.
Here’s what you can do to conduct market research tests and see if your course has demand or not:
How to Conduct Market Research
A lot of course creators assume that if their topic has a lot of competition then the course idea won’t work, but actually, the opposite is often true.
When there’s a lot of competition, it shows strong market demand, which means it’s well worth investigating your online course idea further.
Ask yourself the following questions:
- Are people searching for the course topic?
- Are they asking questions about the topic?
- Are people willing to pay money to solve the problem your course addresses?
- Is there a gap in the content offered by your competition?
These and other questions will help you determine what’s already out there and if there’s an opportunity for you to offer something that’s similar, but stands out from the rest of the courses already out there.
If you want to make this decision based on data, consider checking some of the largest course marketplaces like Udemy or Skillshare to see what courses are most popular on the platform. When you do this, you’ll be able to look at the numbers and reverse engineer what is doing well on their platforms and use it to your advantage.
3. Research Your Topic
At this point of the learning process on how to create online courses, you’ll want to research your topic in depth. You may already have deep knowledge on your topic, particularly if you already have a blog where you create content on similar topics. In that case, this part will be easier for you.
But, even if you are starting from scratch, don’t worry. Listed below are a few tips and tricks to help make your topic research process a lot less intimidating.
- Conduct keyword research to determine the types of queries users are looking up when they search the topic.
- Look through the comments of relevant blog posts to see what readers are saying about that topic.
- Sift through social media to discover what the conversation is around your intended course topic.
- Look at the “People Also Ask” section to discover more ideas for sub-topics and sub-categories.
- Check out the “Related Searches” at the bottom of each search results page for additional ideas.
Go the extra mile to provide unique content by looking through a variety of sources, ranging from forums and literature to webinars, competitive courses, and more.
This will help you get a better feel for the types of questions your course students might be interested in.
As you can see, you need to dive deep to learn as much as you can about your course topic. But, it’s well worth the effort because your content is likely to perform better if you can go beyond what users will easily find on Google’s search results.
4. Craft Magnetic Learning Outcomes
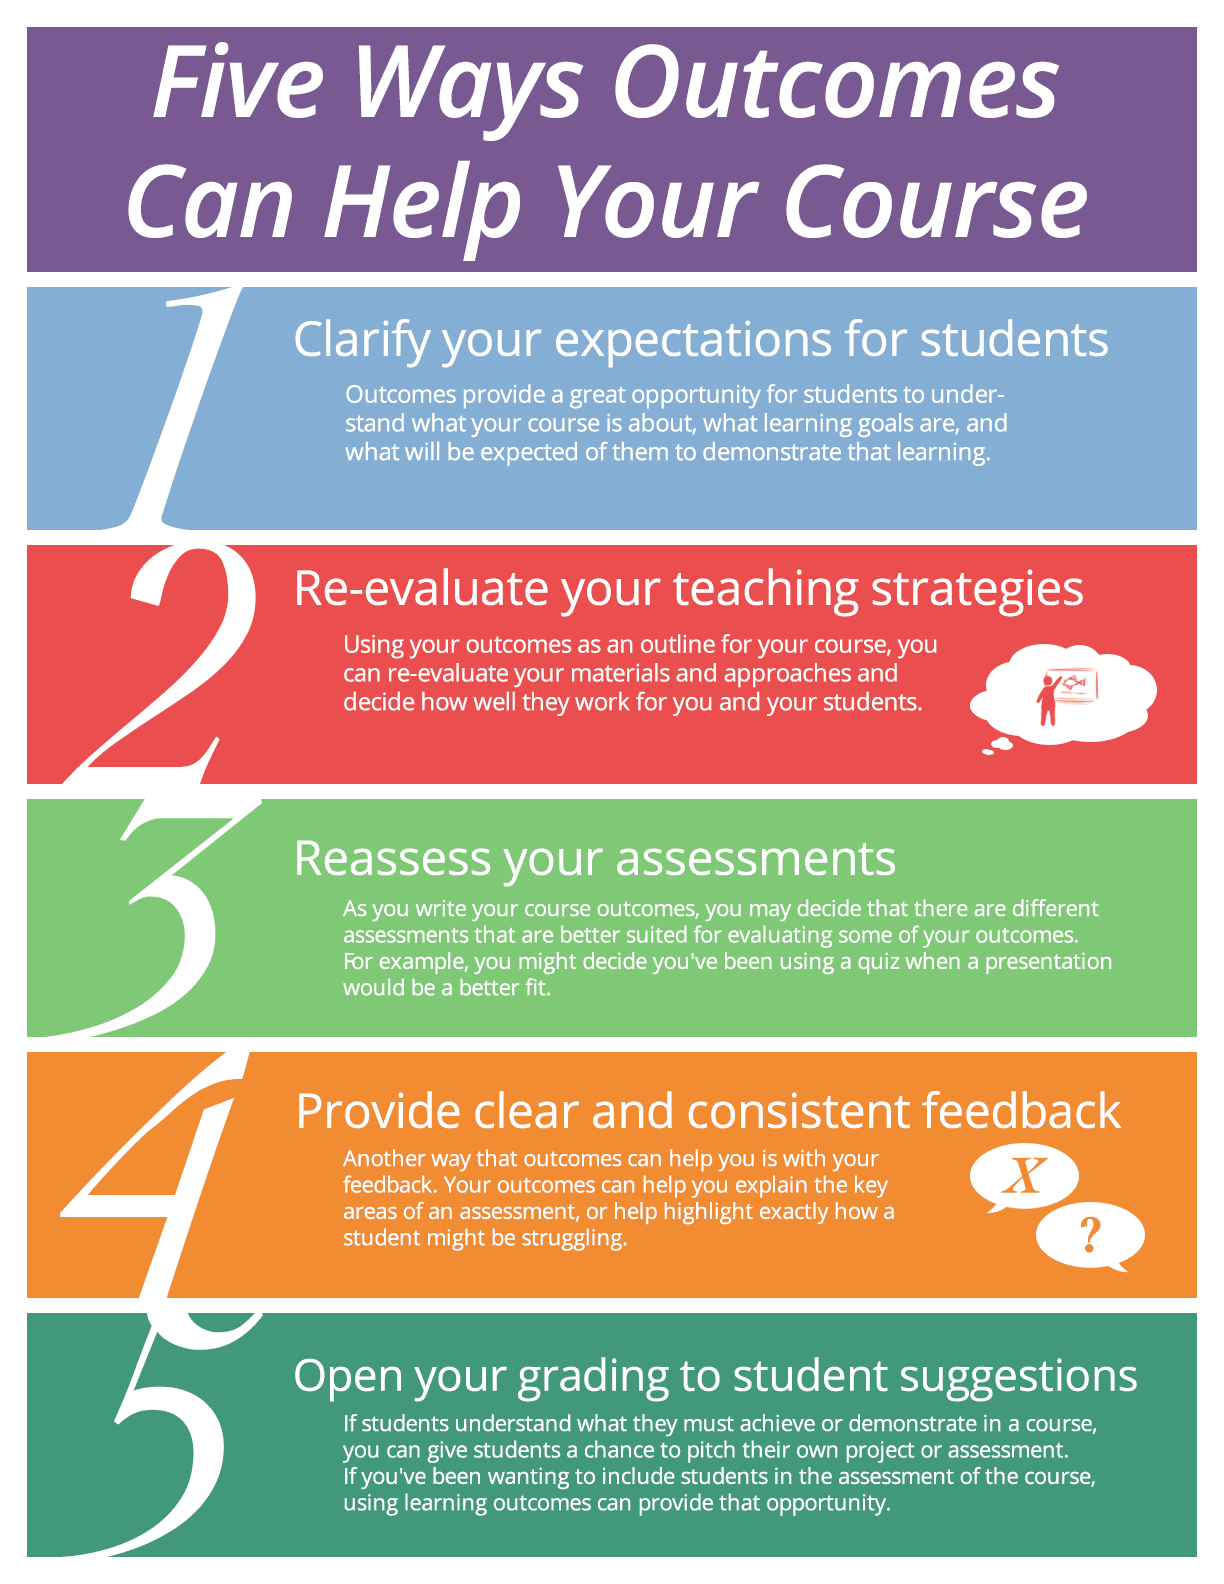
Learning outcomes are often overlooked when creating an online course. However, they are among the most important elements to consider if you want to build a successful online course.
How do I know?
Outside of all of this digital marketing stuff, I’m a college professor. I have been since 2010 and in that time I’ve developed dozens of courses myself using university-sponsored methodologies.
These days, the online course creation sector is dominated by marketers, rather than qualified educators. Many of them miss this critical step in the development of their online learning program, and it negatively impacts the learning experience and, ultimately, sales.
Don’t make the same mistake when creating your first online course.
Ask yourself – Upon completion of my course:
- What skills will learners be able to demonstrate?
- What new knowledge will they have obtained?
- What feelings will they have moved away from or to?
Take the time to create a learning outcome that will:
- Clearly state to learners exactly what your content will teach them (this prevents them from making incorrect assumptions about what they will get from your online course).
- Explicitly explain the benefits and results learners will achieve as a result of completing the course (this will also help to sell the course for you). This is crucial. Tell them exactly what each lesson will accomplish as they try to make themselves better.
- Filter out anyone who isn’t the right fit for your online course (this greatly reduces refund requests).
Best of all, you can use your learning outcomes as a way to help keep you focused and on track while creating your online course content since you’ll only be required to create content that is directly aligned with a learning outcome in order to prevent course creation overwhelmed.
Any content that you gather, but that doesn’t directly take learners to one of the learning outcomes can be saved for another course or used as bonus material.
5. Write a Course Outline

At this stage, you can start creating a curriculum for your online course. Begin by writing a list of lessons that you will teach.
Break down each lesson into the main topics you want to cover, going in a logical order and ensuring that your ideas flow naturally from one to the next. This ensures a smooth, frictionless learning process.
Your outline will differ depending on the type of online course you’re creating, but here’s an example of what it might look like:
Lesson #1: How to Trade Forex
Lesson Objective: Learners will discover the three main forex trading strategies
Topics Covered:
- Choosing the right trading strategy for your personality
- Aligning your strategy with the right market conditions
- How to maximize results from each strategy
Lesson #2: Understanding Forex Markets
Lesson Objective: …
Topics Covered: …
- …
- …
- …
…and so on.
A quick search online will provide you with course outline templates like the one below that you can use to make your job a lot easier.
Remember to add an introduction and conclusion to the entire course, as well as each individual lesson.
Don’t worry about repeating yourself – reiteration is great for aiding the learning process.
Once you’ve created a course outline that guides your learners step-by-step from one idea to the next, you can move on to the next step which involves selecting an online course platform or software so you can start creating or assembling your course content.
Pro Tip: Add Assignments, quizzes, and activities.
Consider adding additional activities and assignments to your course curriculum as a way to help learners retain more of their newly gained knowledge. You can start with theoretical discussions, after which you give learners some examples. Follow that up with an assignment at the end of the lesson.
6. Choose an Online Course Platform
At this stage of your course creation process, you must now decide whether you are going to host your new course on your own website or on an existing online course platform like Thinkific, Learnworlds, Teachable, etc.
I’ve created a resource with all the best online course platforms to help you choose the right one for your needs. If you don’t want to take the time to read everything there, my top recommendation is Thinkific.
Keep in mind that the way you choose to host your course has its pros and cons – so before making your choice, let’s take a look at what each option entails.
1. Using Your Own Website
You can use plugins or software on your website to create and sell your own course. If you use your own portal, you’ll have total control of your online course, including your website, brand, and pricing.
This includes using platforms like LearnDash (Full review here) that integrate with WordPress directly.
However, you’ll have to handle the marketing and promotion of your course to attract new students, deal with payments, video streaming, third-party app integrations, and a dozen other matters on your own. Unless you’re a seasoned creator, I don’t advise this.
2. Using an Established Marketplace
An alternative is to use online course marketplaces that come with an established audience.
Although you will be able to find a ready-made audience to whom you can market your online course, your courses will be presented next to your competitors’, and the pricing options will be a lot more restrictive. For me, this was the biggest hurdle to launching on these platforms. For instance, with Udemy they would consistently sell my course for $10. Now I’m able to sell new courses for $250+.
Furthermore, you’ll be limited as to your course branding by the platform’s own capabilities, which means you could fade into the sea of courses already available on your subject and fail to attract the attention you need to sell your courses.
So as you can see, this presents a different set of headaches – which leaves one other option.
3. Using an Online Course Platform
An online course platform provides you with a plug-and-play learning management system, which is a better option for beginners and people who don’t want to deal with the tech headaches that come with online courses.
If you use an online course platform like the ones mentioned in my review article, this type of software provides you with a multitude of options that allow you to create, market, sell, and manage your course from one convenient place – without technical knowledge and the headaches you’d get otherwise.
7. Create (or Gather) Your Course Content
Now comes the fun part of learning how to create online courses – getting the content out there.
With your structure set and your platform chosen, you are ready to start building or assembling your course.
If you already have a ton of content that’s ready to use, you’ll be able to save some time on this step.
However, even if you beginning from scratch, you’ve already done all the research and outlining necessary to make your content creation easy.
First, establish the type of online course content you’ll be using, whether it’s:
- Text content
- Video content
- Audio content
- Image content
- Screencasting content
…etc.
The way you present your lessons will vary depending on your type of course, and your audience.
Fortunately, you can mix and match different types of content to make your course as engaging and effective as possible.
8. Establish Grading and Assessment Methods
In a typical school, grades rely on tests because that is how the school system measures how much students have learned.
So, for those who’ve been paying attention, pop quizzes are a breeze. But for students who’ve been slacking, their grades will show that they need to pick up the pace.
Of course, online course assessments are purely optional, and your teaching style may not require their use.
However, it’s important to keep in mind that giving your learners a sense of accomplishment early on has been shown to boost engagement. And frankly, getting users to engage with your content is the number one challenge after you get them signed up.
If you do choose to employ quizzes/tests as part of your course, then your online course assessments can take different forms. For example, you might add a project that determines the final grade at the end or have a quick pop quiz at the end of each lesson.
A platform like Thinkific makes it extremely easy to add a quiz to every lesson.

The type of assessments you use will depend on the subject you teach as well as how you want your learners to prove their knowledge.
For example, if you’re someone who teaches a topic that is mostly fact-based, you can use a by-the-book multiple-choice quiz, whereas someone who teaches a topic like Creative Copywriting might need to use an assessment method that is a little more subjective.
9. Sell Your Course Online
Once you’ve completed the creation of your online course, it’s time to get it in front of your target students.
Depending on whether you’re hosting your course on your own website, using a marketplace like Udemy, or an online course platform like Thinkific, you’ll have different options available to you.
As previously mentioned, if you are using your own website, then you have absolute freedom on how your price and sell your course.
However, you have to take care of all the technical issues by yourself, including connecting to payment processors, making sure your site is secure, optimizing your checkout, etc.
On an online course platform, you can offer your students different payment options, whether they pay for your course all at once or with a recurring payment plan. Online course platforms make this easy by providing you with a multitude of suitable options to choose from.
Pro Tip: When pricing your course, consider competitor prices to give yourself a sense of the going rate in the market. Remember to take into account your level of expertise and the creation time for the course, as well as the value users will get from your content.
10. Promote Your Course Content
Now that your course is out there, it’s time to get as many learners to it as possible. You can do this in a variety of ways, including:
- Social Media: Share your course on social media and in groups and forums where relevant people are congregated.
- Email Marketing: Create an email marketing campaign, including discounts and early-bird promotions to get more people interested in signing up for your course.
- Blog Posts: If you don’t already have a blog, create one and write about your course and topic to boost search engine optimization (SEO).
- Guest Posts: Write for authoritative blogs in your niche to showcase your knowledge and expertise as a way to drive more people to your content.
- Podcasts: Starting your own podcast or finding a way to be a guest on other industry-relevant podcasts is a great way to expand your audience and reach.
Conclusion
Creating an online course can be a daunting task, but my hope is that this post gives you some ideas on how you can build something that others will learn and put money in your pocket each month.
Feel like I didn’t cover something fully in this guide on how to create online courses? Want me to expand a section of this post? Let me know if the comments below!